Writing for the web
First off – it is important to think about your audience and their habits when updating content on the website. People scan and read differently on the web, so you need to write a little differently too. Here are some helpful tips on writing for the web and updating our site via WordPress. All content on the College website must follow these guidelines.
- Best Practices for Web Writing
- Writing for the Web
- Checklist for Plain Language Web Writing
- F Shape Pattern for Reading Web Content
Logging in
 Open your favorite web browser. We will use Google Chrome.
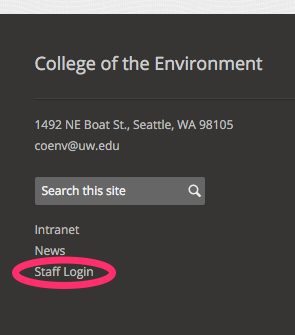
- Next go to environment.uw.edu, and find the staff login link at the bottom of the page, under the search bar. You can also go directly to “environment.uw.edu/wp-admin” and bookmark for future use.
- Log in using your UW NetID. If you have trouble logging in, please contact the online marketing team via email at coenvweb@uw.edu.
- After logging in, you’ll be forwarded to the WordPress Dashboard, which includes links to the content types you’ll be working with.
Starting a revision
The first step in the content editing workflow is to create a page revision from an existing page. There are two ways to create a new page revision:
- Via the “Pages” admin
- Log In
- Click “Pages” in the left-hand menu
- Find the existing page you’d like to revise, and click the “Make Revision” link under the page title

- Via the WordPress toolbar
- Log In
- Navigate to the page you’d like to revise
- Click the “Make Revision” link in the top admin bar

Making a revision creates an exact copy of the existing page. The title of the revision page will be appended with “- Revision”. This page should be used to make your edits before submitting them to the Marketing and Communications team. You can make edits to the page title preceding the “- Revision” text and it will be copied over on completion of the revision process. Only one page revision can exist for any single page at a time, however multiple users can make edits to a single page revision before submitting for proofing to the Marketing and Communications team.
Formatting text
Although the text editor in WordPress looks a lot like a word processing program, there are differences between formatting for print and the web. Instead of choosing specific text sizes, bolding, and fonts, sets of formatting attributes are contained in “styles.” One of the most important set of stlyes are headings, which are useful for people scanning text and improve search engine results for your content. To apply styles to your text follow these instructions:
- Highlight the text you would like to make into a header.
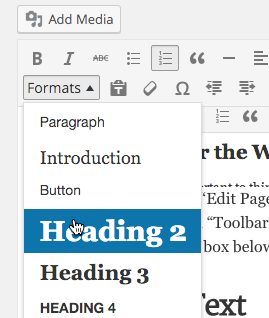
- When in the “Edit Page” view, you will see a dropdown menu that says “Formats,” click on it to view different styles.
- Paragraph is the default body text style. Introduction is the text you would use at the beginning of a page to give a quick summary. Button is a style that can be wrapped around links to turn them into buttons, like this:
- The styles are:
Heading 1
Heading 2
Heading 3
Heading 4
- Heading 1 is used on page titles, so no need to use it (ever!). Heading 2 is most commonly used for sub-titles. Heading 3 works for sub-sub titles. Heading 4 shouldn’t be necessary. This page you are reading now uses Heading 2 for sub-headings.
- Hyperlinks are added by clicking on the hyperlink button. Please add a title for screenreaders, even if it is the same title as the page you are linking to. Click “Opens in New Window” if it is not on the College of the Environment webpage (doesn’t begin with environment.uw.edu.)
Uploading and placing a picture or file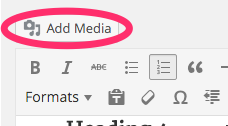
- While editing a page, click on the spot you want your picture or file link to go, then click on the “Add Media” button.
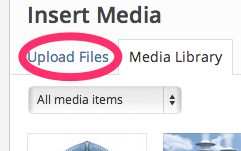
- If uploading a new file click “Upload Files,” otherwise, select your image/file and skip to step 4.
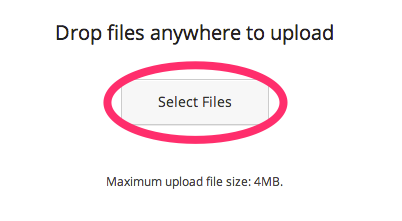
- Click “Select Files” and choose the file(s) you want to upload.
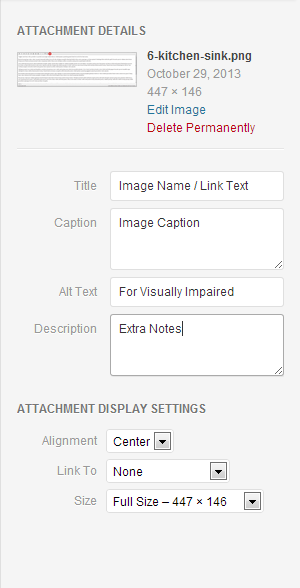
- Now you will see a column on the right with image attributes, fill these in as much as possible.
Title: The name of the image, or what you want the file’s text to say on the website (e.g., “November 4, 2013 Meeting Minutes” or if described elsewhere, “Minutes”)
Caption: For images only – a caption that goes under the image. Photo sources go here.
Alt Text: For images only – this text is for visually impaired users who use screen readers, or for people with very low bandwidth connections. Please fill it in with a description of the image. Because of accessibility concerns, all images on the College site must include Alt Text.
Description: Optional text that describes the image internally. - Attachment display settings are different for pictures and files.
Pictures: Choose Alignment: Right, Link to: None, Size: Thumbnail – 200 x 200. These are our default settings, and if you want to change them, do so carefully.
Files: Use default settings. Link to: Media File - Click Insert into Page.
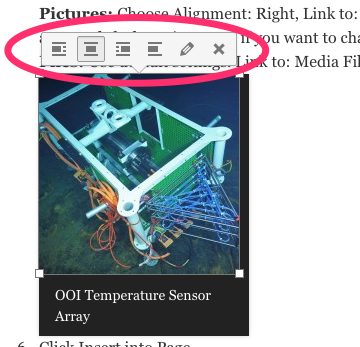
- If you want to edit a picture further, click on the picture and click the photo button. To delete, click the red crossthrough button.
Submitting revisions for review
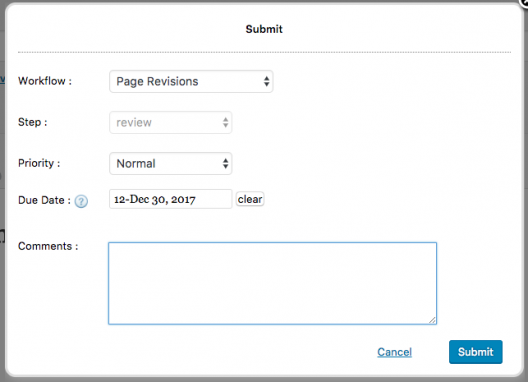
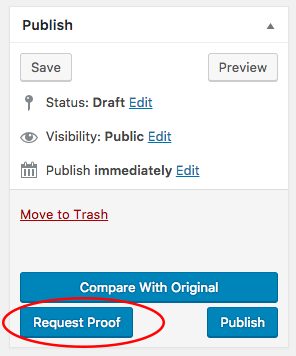
Once you’ve completed your edits, you can submit them for a spelling, grammar, and formatting proof to the Marketing and Communications team by clicking the “Request Proof” button in the top right box. Before you submit your proof request, you’ll be able to include additional notes/comments with your submission as well as select a “Due Date” for the request to be returned to you. The default is one day after the submission. The remaining fields: Workflow and Step should not be changed. Once you submit your request, the Marketing and Communications team will be notified via email. On the due date a second email reminder will be sent.
Publication of revisions
You can expect your revision to be reviewed within one business day. Once your revision is approved it will be published immediately.
FAQs
I’m having difficulty finding a revision that I started, but haven’t submitted yet. How can I find it?
Revision pages are saved with the status of “Draft”. In the Pages Admin, you can filter pages on status using the links along the top of the table. If you created the revision, then it will also show as a page you own under the “mine” tab. Additionally, searching ” – Revision” will show you a list of all revision pages currently in progress. Revision pages that have been submitted for proofing have a status of “Pending Revision” and those that have been proofed, but not yet published have a status of “Ready to Publish”.
When I make a revision I see a message that one already exists. What should I do?
Only one page revision can exist per page on the website. If one already exists you can either delete it and start over or continue to work from the existing revision. If you didn’t create the original page revision you should check in with the original creator before you proceed. You can determine the original creator of the revision by searching for it in the Pages Admin and looking under the “Author” column.
I’ve started a revision, but no longer need to make changes. What should I do?
Only one page revision can exist for any single page on the site, so be sure to delete your revisions if you no longer need them. You can do this by moving the page to trash via the Pages Admin.
The page I’m working on includes custom fields outside the content area. Can I make changes to these?
Yes! Changes to custom fields on your revision will be copied over to the live page upon completion of the process.
Support
If you need help with any edits to a website in the College of the Environment framework, contact envhelp@uw.edu. One of our team members will get back to you shortly with assistance.
Dean's Office Contact: